Drata Integration with Kandji Automates Mac Security Monitoring
Drata is a fast-growing SaaS company that provides seamless compliance with SOC 2, ISO 27001, PCI DSS, and HIPAA, by automating the process of collecting evidence across an organization’s tech stack. That evidence allows companies to prove their security posture and pass audits; automating the process can significantly reduce the time companies spend achieving and monitoring compliance.
Drata automates its evidence collection by connecting with more than 50 cloud-based tools—business suites, identity management providers, and the like. Proving that end-user devices are secure also plays a major role in meeting compliance requirements. That's why Drata recently enabled an integration with Kandji that extends those monitoring abilities to Mac computers. Instead of installing an agent to monitor Mac security settings, Drata can pull the data from Kandji via API.
Specifically, the integration can check Mac computers for:
- Password manager installed;
- Antivirus software installed;
- Operating system security patches auto-applied;
- Hard drive encryption enabled; and
- Screensaver lock configured to activate.
Drata can be configured to notify admins if a device does not meet the compliance criteria; those admins can use Kandji to keep those settings continuously enforced across their Mac fleets.
To set up the Drata-Kandji integration, your Kandji account needs access to the Kandji API. (If you don't already have that access, you will need to request it; for details, see our support article.) Also, your Kandji account must also be connected to an identity provider. (In the Kandji web app, that connection is configured in Settings > Apple Integrations > User Integration). It is important to use the same identity provider account in Kandji as in Drata, to ensure that users are synced between Kandji and Drata.
To set up the integration, go to Settings > Access, then to the API Token section and click Add Token. Give the token a name and description, then copy it. Next, configure its permissions:
- Device list: "/devices"
- Device details: "/devices/{device_id}/details"
- Application list: "/devices/{device_id}/apps"
- Device Library Items: "/devices/{device_id}/library-items"
When that’s done, save the token. While in the API Token section, note your organization’s API URL; it should follow the format https://<subdomain>.clients.us-1.kandji.io (for US customers) or https://<subdomain>.clients.eu.kandji.io (for customers in Europe).
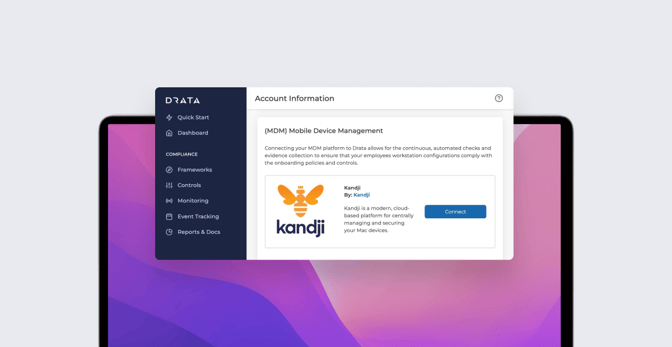
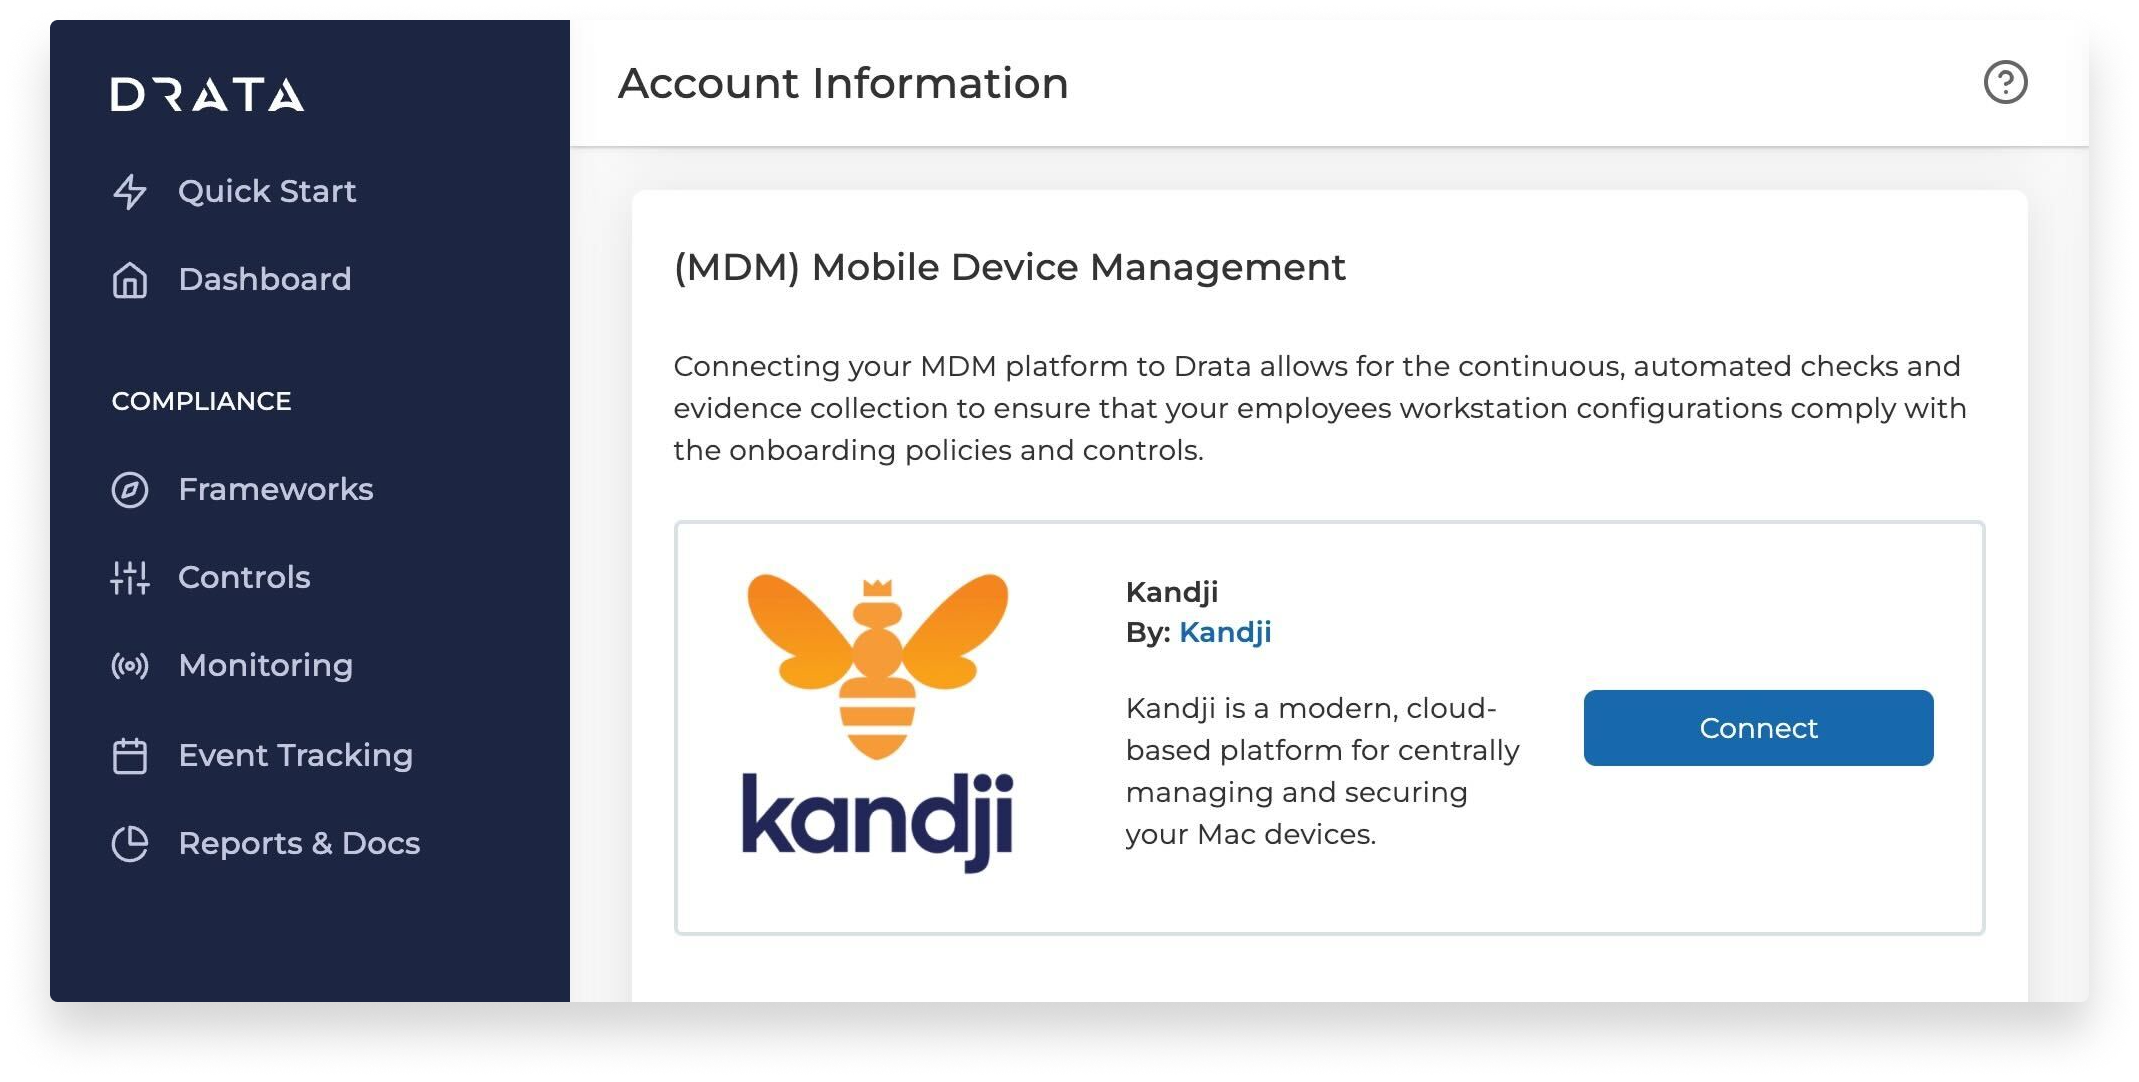 Next, log in to Drata and click your company's name in the lower left of the blue sidebar. Open the Connections section, then scroll down to Kandji and click Connect. Enter the API URL and API token created previously, then click Save and Test Connection.
Navigate back to the company name in the lower left of the blue sidebar and this time select Internal Security. Select Automated via Kandji MDM and turn off Automated via Drata Agent.
That’s it! From now on, Drata will fetch data from Kandji on a daily basis.
If you're already a Drata customer, you can learn more about the integration by logging in to Drata and then going here.
